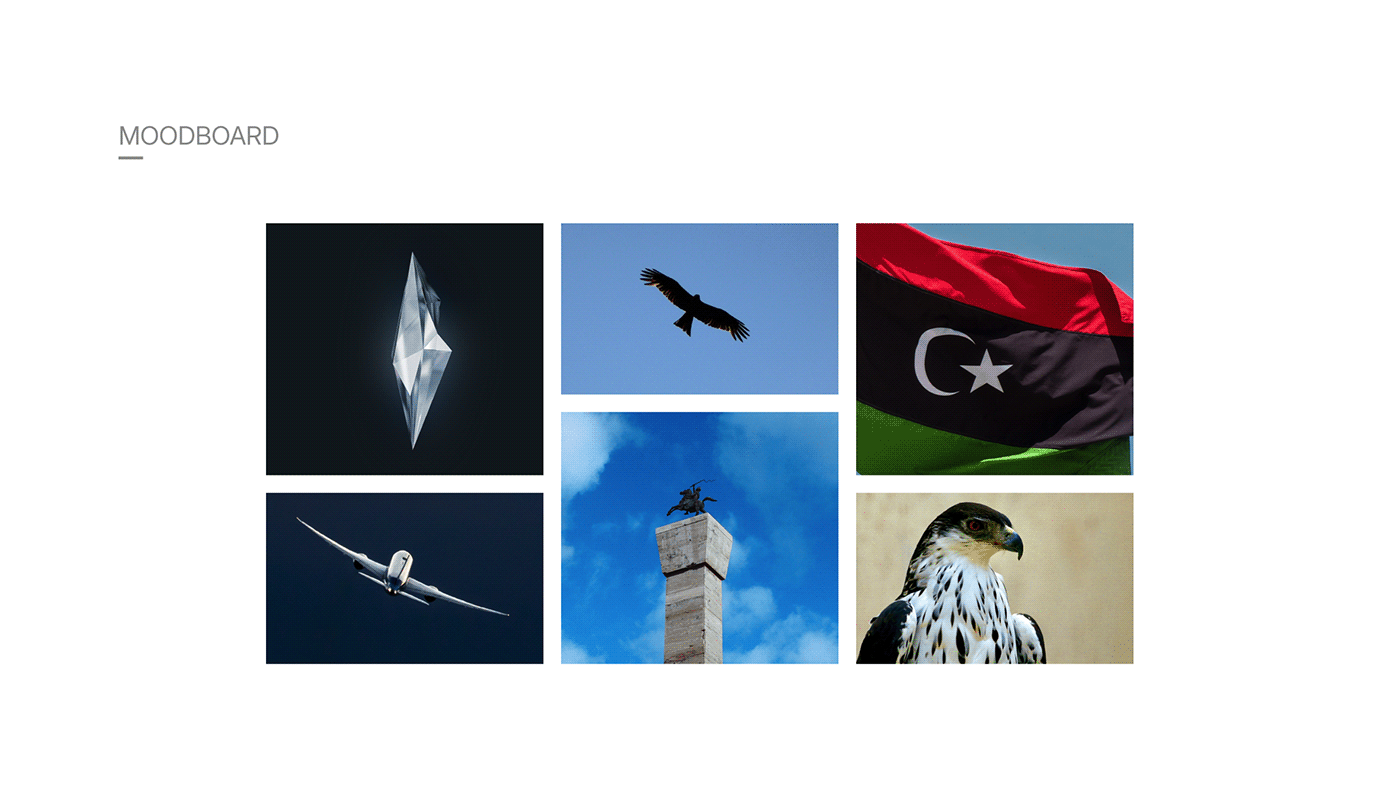
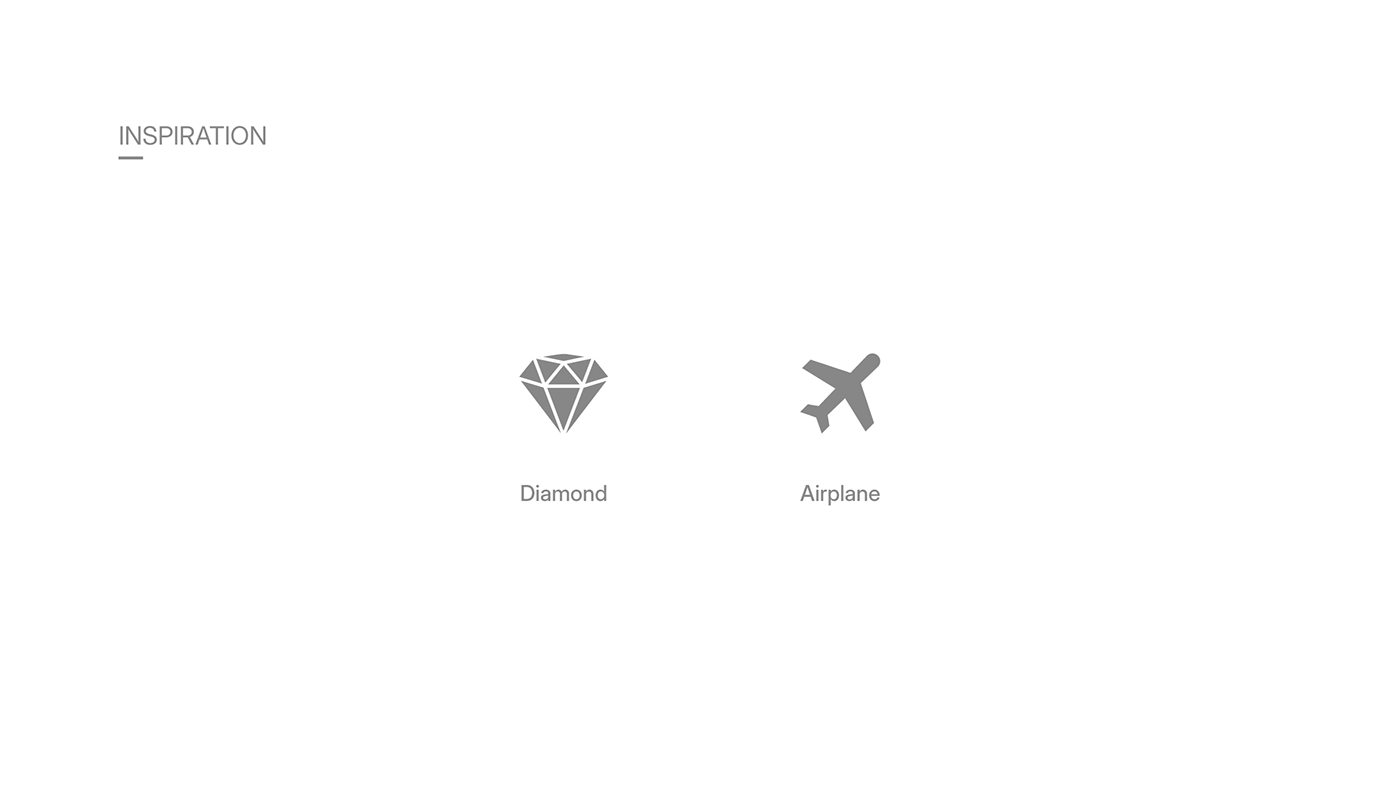
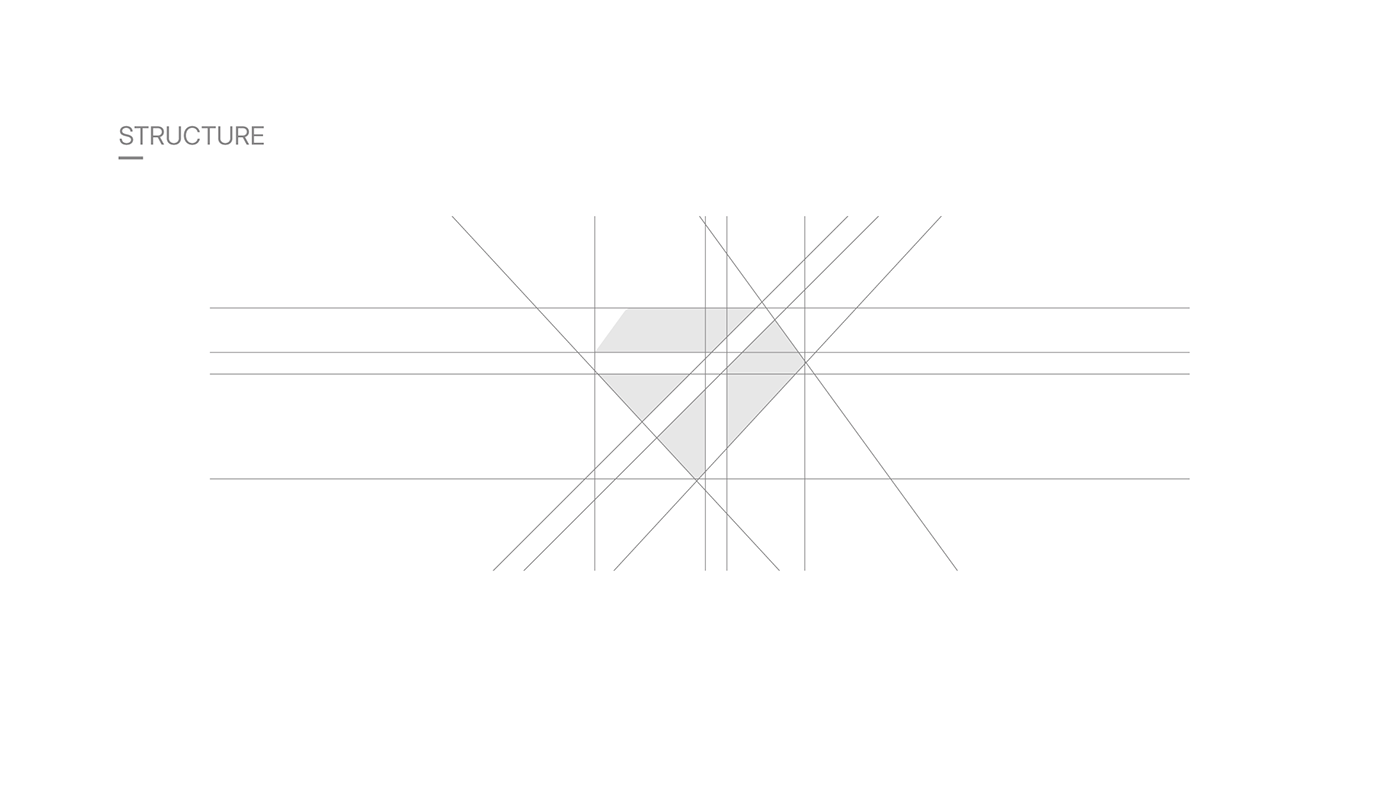
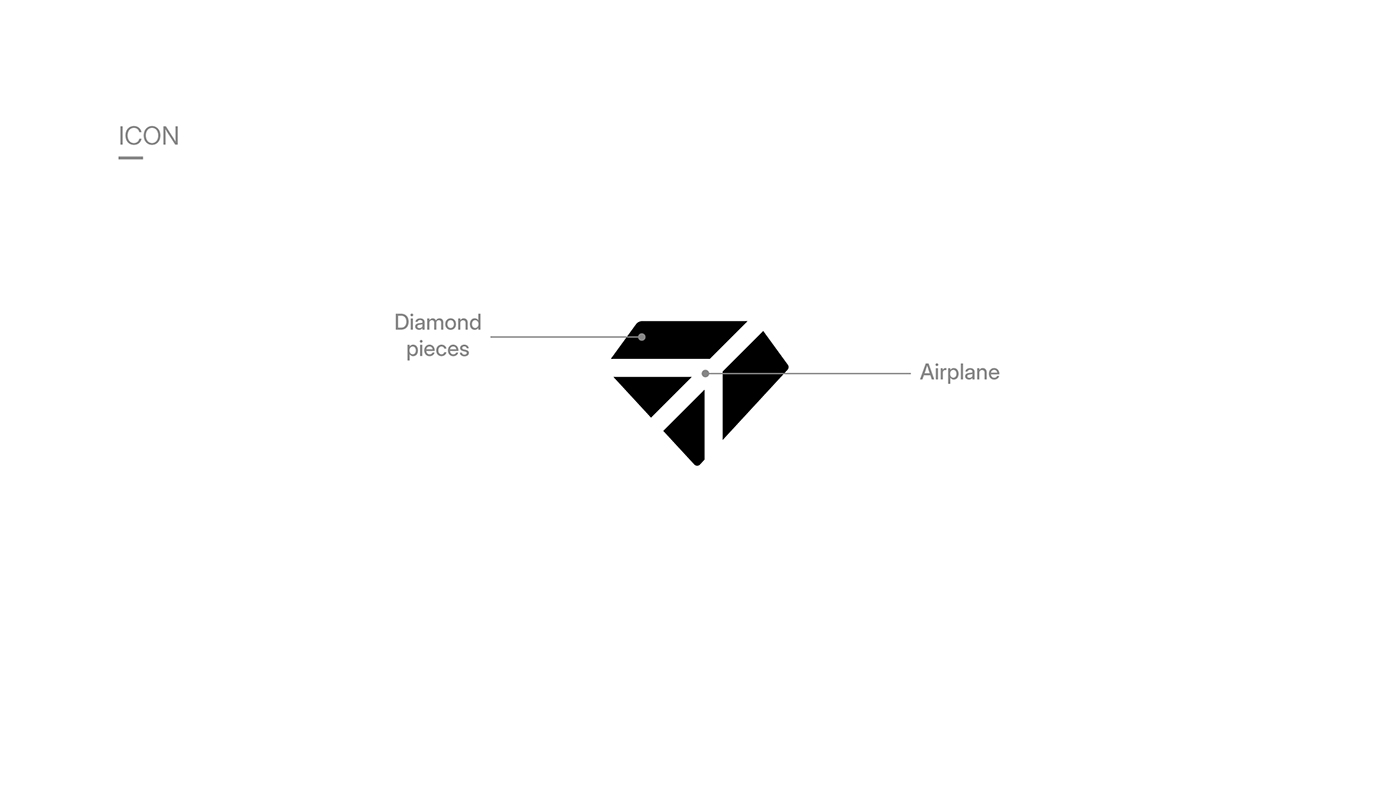
A rebrand for Fly Diamond, an aviation services firm, merging a diamond and a plane into a red mark with English and Arabic wordmarks.
- Client
- Fly Diamond, 2026
- Discipline
- Brand identity
- Industry
- Travel & hospitality
Description and tags by Afrika Designers; some tags are generated automatically. Remove or edit this work